Looking at the prototype
The following pictures illustrate
further how the prototype looks and how to work on the modification.
Of course these are most useful when working on an ADB Mouse 2, but it
might help with other mice too.
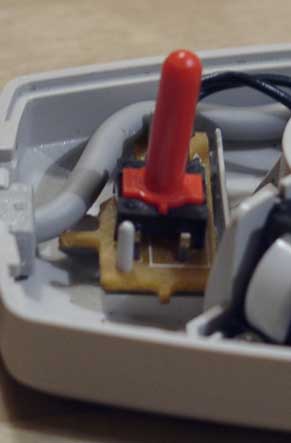
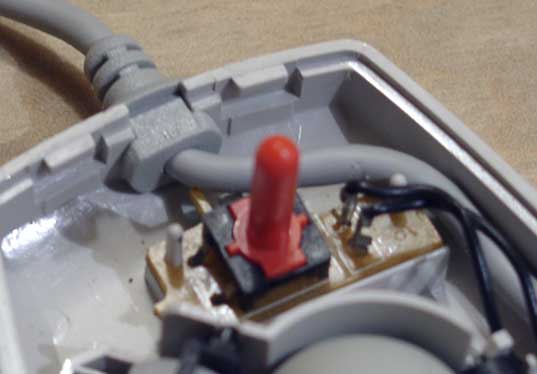
Here you can see how the switch
is soldered onto the PCB plate, using an extra piece of wire to route
the power to the pins (purple).

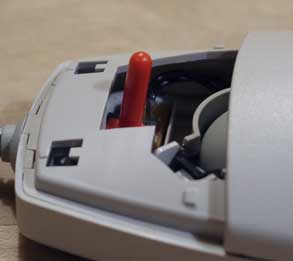
That's how it looks when it's
mounted and ready to be closed up again. (If you opened it correctly,
you can also close it again, unlike me...)
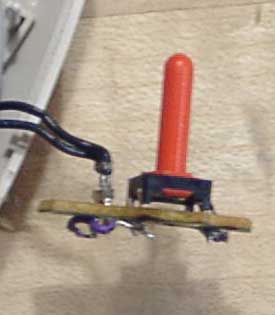
The following 4 pictures show how the prototype may eventually look like.